Pinhole Photography Day |
Story location: Home / photography / pinhole / |
| 27/Apr/2015 |
It's been quite a long time since I posted any non-food photos (back in September when I dabbled with some HDR images), and I haven't done any pinhole photography since 2008.
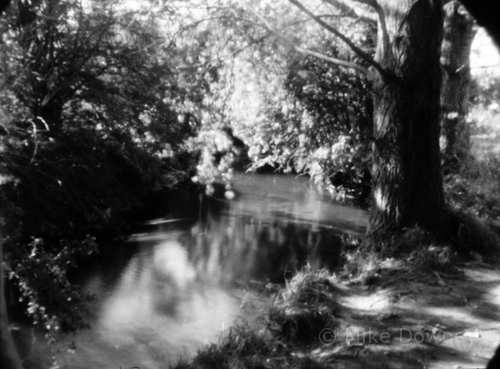
Yesterday was Worldwide Pinhole Photography Day so I decided to have another go, this time in colour and digital (most of my previous pinhole work was medium format on black and white film). I made a pinhole 'lens' by drilling a hole in a body cap and taping some foil over the hole. I made a hole in the foil using the thinnest needle I could find.
I did a few test photos indoors before going out for a walk along the canal. Since I didn't take my tripod with me, I set the camera to maximum sensitivity to keep the exposures short. Most of the outdoors shots were between 0.5-2s so I still had to brace the camera against something solid but they came out ok.

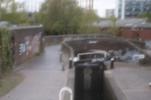
Click on the thumbnail to view the image
HDR without bracketing. |
Story location: Home / photography / |
| 19/Sep/2014 |
I have previously mentioned using the Clahe plugin in ImageJ/Fiji to create a sort of pseudo-HDR image from a 16 bit image from a digital camera.
I set the camera to record a raw image at low contrast to attempt to record as high a range of intensities as possible, then use Clahe to increase local contrast while retaining detail in highlights and shadows.
I recently installed pfstools which includes a lot of command-line tools to convert images and generate HDR images. I thought I would look into whether I could use these tools with RAW images from the camera.
It is possible to convert the RAW to a HDR file using:
pfsindcraw DSC_nnnn.RAW | pfsoutrgbe DSC_nnnn.hdr
When the image has been converted into a suitable HDR format, the different 'tone mapping' commands can be tried to see which ones produce a pleasing result. It can actually be quite difficult getting the balance right between retaining detail and producing an 'over-processed' image which looks too obviously like an HDR photograph.
Simply taking the 16 bit RAW file and adjusting the contrast to show the full range of intensities can result in a flat looking image.
The same image, processed using the Clahe plugin in ImageJ, to retain shadow and highlight details while maintaining good contrast.
Using pfstools tone mapping to increase local contrast and decrease the dynamic range.
Pfstools offers several different ways of converting the HDR file into a 256 bit colour image and a bit more trial and error may be needed to get a good result.
Hand-held HDR photography |
Story location: Home / photography / |
| 18/Sep/2014 |
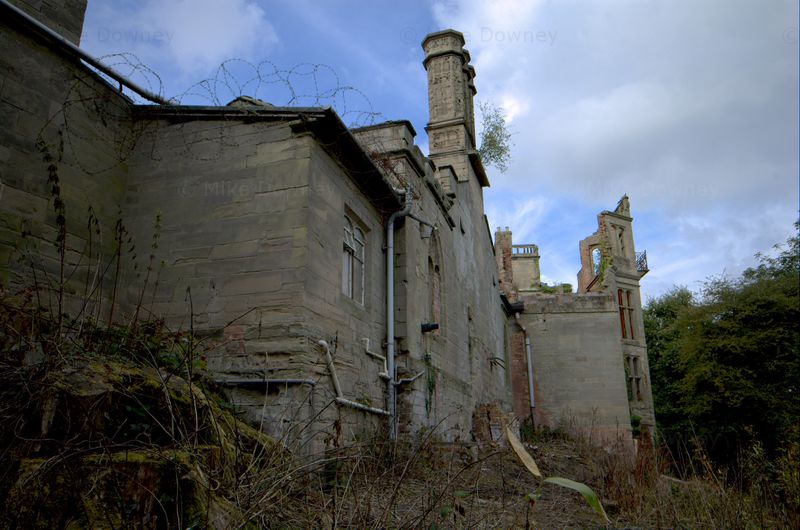
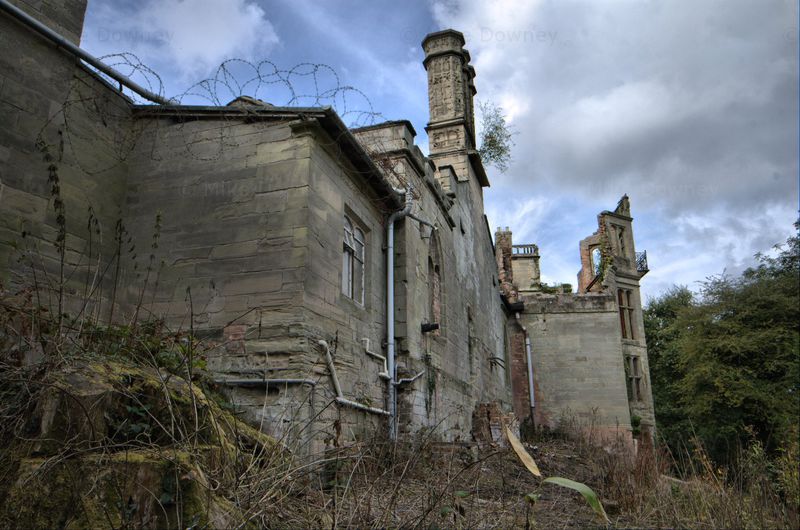
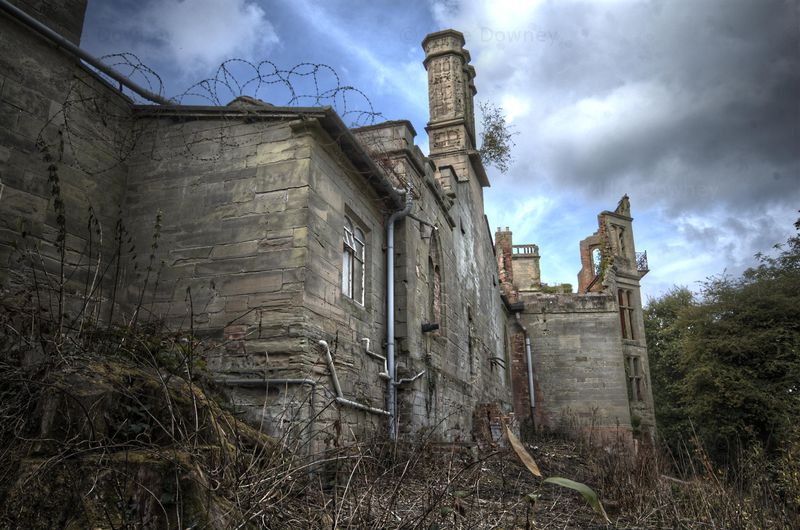
Classic HDR photography usually takes a bracketed set of exposures and combines them to produce an image which retains detail in the shadows and highlights. Normally this needs a tripod to ensure the images can be combined without any pixel shift between them. Sometimes it isn't possible to use a tripod, especially if taking a photo in a confined space or a building where they are forbidden.
A lot of HDR generating software includes some form of image alignment which can be used to overcome a certain amount of camera movement. Most of the time this seems to work quite well but every now and then, especially if you are using a lens with a lot of distortion such as an ultra-wide, a simple alignment won't work because the distortion stretches out different parts of the picture by different amounts.
Several months go I encountered a piece of software called LensFun which a library of functions to correct for lens distortions. There is a Gimp plugin based on it (GimpLensFun) which is readily available for Linux and Windows and is part of the Gimp distribution available from the Gimp on OSX project at Sourceforge.
The 'batch process' function of Gimp can be used to apply the correction to a series of images which can then be used to generate an HDR image.
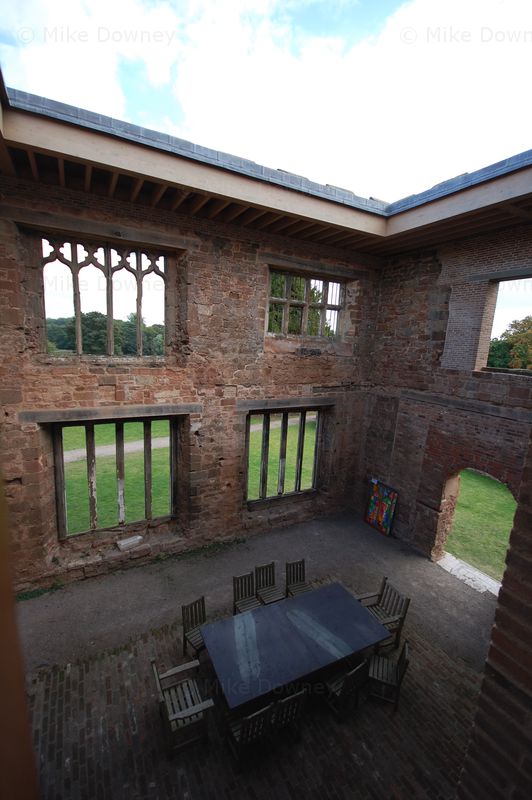
A single exposure is insufficient to capture the dynamic range of the scene.
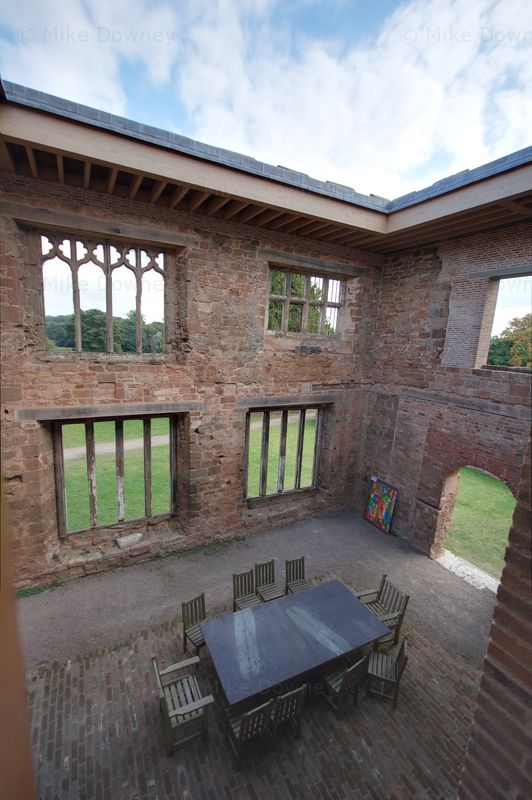
Combining the corrected images increases the dynamic range.
Experimenting with Infra-Red photography. |
Story location: Home / photography / gallery / |
| 14/Oct/2012 |
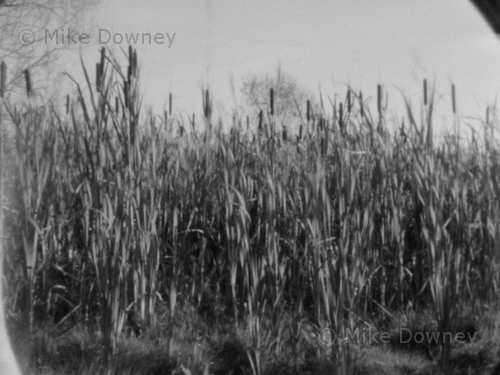
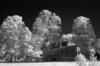
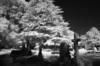
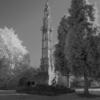
Many years ago I experimented with Infra-red photography using black and white film which was made by Konica and was sensitive to the longer wavelengths. The film was relatively insensitive to some visible wavelengths and I worked out that I could use an orange filter to get a decent Infra-red effect where foliage came out bright and the sky was dark. A couple of the photos are shown here.
Last week I decided to have another go but this time using my digital camera so I ordered a set of filters. These block visible light and only let through longer wavelengths. The sensors used in digital cameras are all sensitive to infra-red light but the cameras also include infra-red blocking filters, otherwise normal daytime photos will have a various amounts of IR light potentially bleeding through into the picture.
A bit of research on the web suggested that older cameras work better than newer ones since newer cameras have thicker or more effective filters. My Nikon D40 should work but will require fairly long exposures to compensate for the IR blocking filter.
This morning I took my camera, filters and tripod for a walk. The filters start at 720nm, which is deep red, right at the end of visible light. Looking through this filter, you can just about see bright light sources. The other filters are 760nm, 850nm and 950nm. These block all visible light and only let through progressively longer wavelengths.
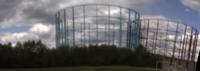
Photos taken with the 720nm filter show a moderate IR effect, similar to photos taken with the Konica film I had previously used. Blue skies are darkened, a bit like a normal red filter with standard black and white film, and Foliage appears bright. With the longer wavelength filters, the sky gets darker which increases the contrast between it and any IR reflecting objects in the scene, such as leaves or stone.
I was surprised to find that the autofocus still worked using the 720nm filter. I focused at the start of each test then locked the focus on the lens (by setting the camera to manual focus but leaving the lens in autofocus) so I didn't check whether focus worked with the other filters. The camera's metering worked with all the filters but I had to add an extra stop or two of exposure compensation.
A tripod is essential when using these filters, since the exposure went from 1/200s with no filter, to around 1s with the 720nm filter, up to 15-20s with the 950nm filter. If I only carried one filter around with me, it would be the 760nm. The IR effect is stronger than the 720nm filter but the exposure is only slightly longer, at around 2-4 seconds.
Click on the thumbnail to view the image
Simple HDR photography with ImageJ |
Story location: Home / photography / |
| 02/Jan/2010 |
This follows from my first attempt at 'HDR-style' photography with ImageJ. I have abandoned my old approach, which used ImageJ macros, and have developed a couple of plugins which are easier to use.
Description of Plugins
The first plugin is a version of Unsharp Masking, which subtracts a blurred version of an image from the original. This can improve local contrast and bring out detail in flat areas.
The second plugin is a modification of the CLAHE (Contrast Limited Adaptive Histogram Equalization) plugin. This performs local histogram equalization on sections of the image. This usually gives better results than the simple Unsharp Mask, but is a lot slower.
Installation
- Download and install ImageJ following the instructions at http://rsbweb.nih.gov/ij/download.html.
- Download the file hdr_.jar. Copy this file into the ImageJ/plugins/ directory.
- Start ImageJ, or select 'Help->Update Menus' if ImageJ is already running.
Usage
The plugins can be found in the 'Plugins' menu, in a 'HDR' submenu.
Both plugins expect a 3-channel TIFF file and can accept 16bit or floating point files. If your camera can save 16 bit RAW files then it may be possible to convert these into TIFF files - check the camera's documentation or any software supplied with it.
After loading the image, select the appropriate plugin from the menu. If 'preview' is selected, a small preview window opens which gives a approximate version of the result. At the moment, this window cannot be moved, so if it appears under the dialogue box, that window will need moving out of the way.
After clicking on 'OK', the plugins process the image and return a processed colour image, and a 3-channel floating point image which holds the full dynamic range and could be used for any additional processing steps.
Unsharp Mask
This plugin has the following options:
- Strength (1-100). Higher values give a stronger effect.
- Blur Radius (1-100). This is the amount of blurring applied to the image which is subtracted from the original.
- Saturated (1-100). After applying the Unsharp Mask, the contrast is adjusted so that a small number of pixels are saturated (set to either 0 or 255). The percentage of pixels is the selected value/10.
Local Contrast
Two options are available:
- Block Size (in pixels). This is the size of the area used to calculate the histogram. The best value depends on the properties of the image.
- Maximum Slope. The CLAHE method increases contrast but will use this parameter to set a maximum contrast. The actual slope is value/10. Higher values give a stronger effect but can also increase noise in areas of flat colour.
Examples of Use
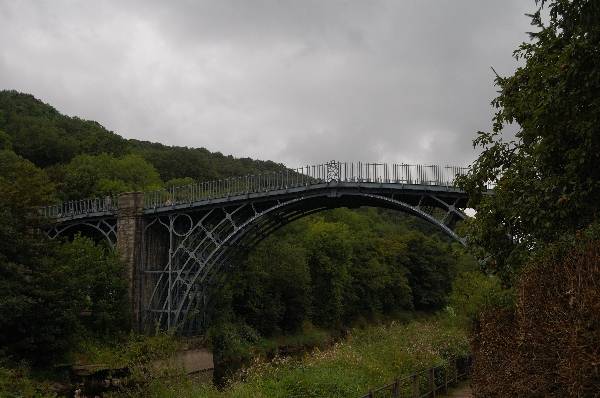
Original image - photograph of Ironbridge in Shropshire, taken on a overcast day with very poor light. The camera was set to its lowest contrast setting to capture the full dynamic range, otherwise the sky would have been burnt out.
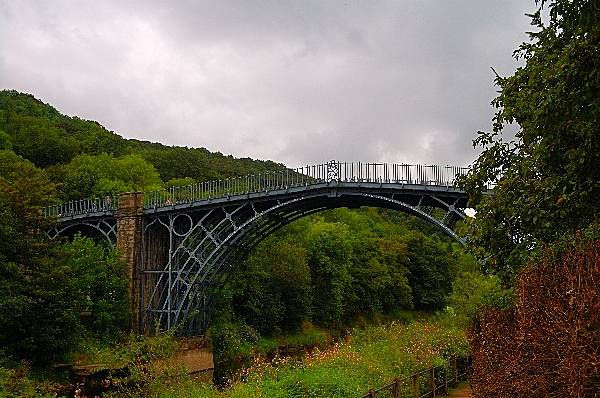
After applying an Unsharp Mask. The whole image has been lightened, with the darker areas being lightened more.
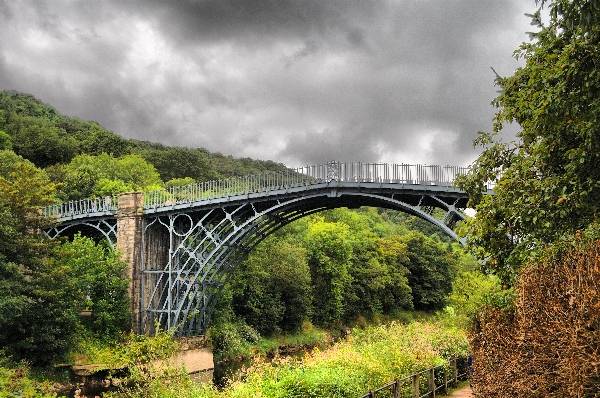
After applying the CLAHE method. The effect is much stronger than the Unsharp Mask, with more detail visible in the sky and better colour in the ground.
Nikon 55-200 VR Zoom lens |
Story location: Home / photography / |
| 23/Jun/2009 |
Earlier in the year, I tried to take some photos using an old telephoto lens which wouldn't focus on my Nikon D40 camera. The experience taught me that a modern autofocus camera really needs an autofocus lens. Older manual focus cameras had viewfinders designed to make it easy to focus accurately. Most modern cameras (at least in the 'amateur' price range) aren't as easy to focus.
I ordered the Nikon 55-200 VR lens on Sunday and it arrived this morning, which was impressively quick. I have only had time to do a quick test of the vibration reduction and I must say, I'm impressed.
I took 6 photos, all at the 200mm end of the lens, at 1/10s exposure. The first 3 had VR switched off, the next 3 had VR switched on. The increase in photo sharpness was remarkable.
You can't really see any difference in the thumbnails but the photo on the left was taken without VR. The 2nd photo used VR. Click on the thumbnails to see a larger version.
Click on the thumbnail to view the image
Not Quite HDR photography |
Story location: Home / photography / |
| 23/Nov/2008 |
I've been intending to experiment with HDR (High Dynamic Range) photography, where images maintain details in both the shadows and highlights. Normal photography has a fairly low dynamic range, so if you want to have good shadow detail, highlights are usually over-exposed.
Normally, HDR software requires 3 bracketed exposures but this usually requires a tripod to ensure all 3 photos can be easily aligned and merged to give the HDR image. I thought I would try to come up with a shortcut to allow me to get results close to HDR but without the need to take multiple images or carry a tripod.
My method requires a digital camera which can produce a 16 bit colour file. I use the 'RAW' image format on my Nikon D40, and then convert it to a 16 bit uncompressed TIF using the ViewNX software which came with the camera. Other cameras should be suitable as long as a 16 bit image format is available.
Required Software
Download and install Imagej and the Calculator Plus plug-in.
Download the HDR Maker macro and copy it into the ImageJ plugins directory.
Install any software necessary to load or convert RAW images from the camera. ImageJ has plugins to handle a lot of different image formats.
Procedure
This is obviously biased towards Nikon cameras, the D40 in particular. Instructions for other cameras will vary.
Set the camera to take RAW images. One way of doing this on the D40 is to go into the Shooting Menu and select Image Quality and choose NEF (RAW) or NEF(RAW) + Jpeg.
We will need to get a wide range of intensities recorded, so we'll use low contrast to reduce the amount of detail lost in shadows and highlights. On the D40, there are two main ways of doing this. In the Shooting Menu, choose Optimise Image. From there you can either select Softer or go to Custom and set Tone Compression to one of the low contrast options.
After transferring the images to the computer, use the ViewNX software (which comes with the camera) to convert the raw NEF file to a 16 bit uncompressed TIFF file.
Load ImageJ and open the 16 bit TIFF.
Go to the Plugins menu and select 'HDR Maker'.
The dialogue box gives options for shadow/highlight values. The defaults are 25% and 75% which means the darkest 25% of pixels will be lightened slightly and the lightest 25% (100-75) will be darkened.
The next options are dodging (lightening shadow areas) and burning (darkening highlights). Higher values have a greater effect.
The blur value is related to the sharpness of the area where the lightness adjustment takes place. Good values range from 0.9 to 50, and vary depending on the image.
The saturation value refers to the percentage of pixels which will be set to the extreme light and dark settings after processing.
The default values are only suggestions and will not work for all images. Feel free to experiment and try different values to obtain a good effect.
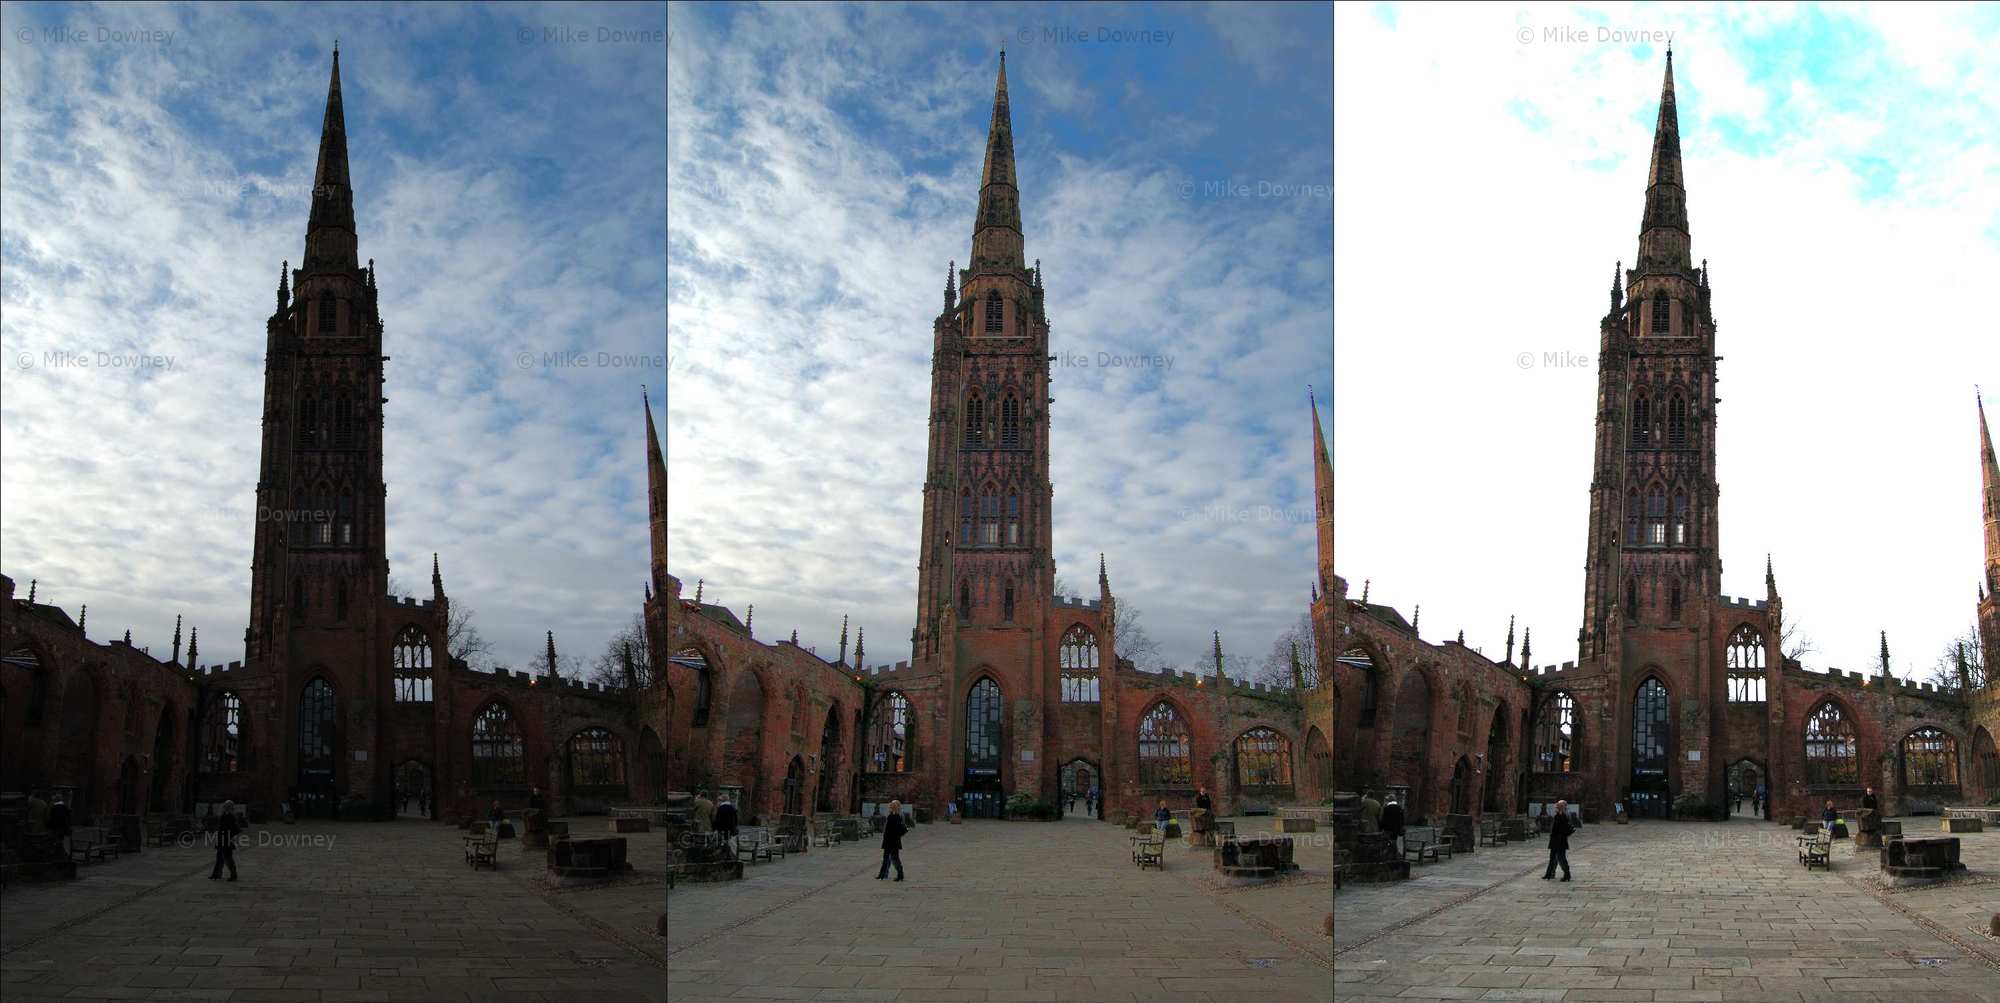
The image above shows the output of the macro. The original photo is on the left, and has detail in the sky but the shadows are very dark. The middle image is the output from the HDR Maker macro. The image on the right is the original photo with the brightness and contrast increased to show detail in the shadows. This has resulted in losing all detail in the sky. Click on the image for a full size version.
The images used above are only to illustrate the procedure, rather than examples of good photography. The HDR macro is an early version and needs more development. The main problem is the lack of contrast in the shadow areas. I tried different values for shadow/highlight/dodge/burn but couldn't get an image which gave 'punchy' detail such as in the right hand image. With any luck I'll be able to sort this out in a future version.
The church at Shurdington |
Story location: Home / photography / |
| 20/Oct/2008 |
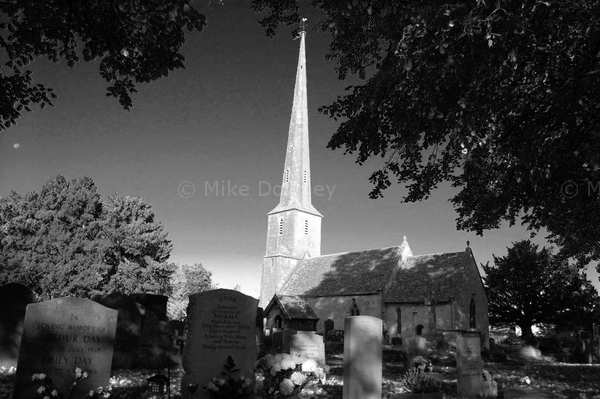
This was originally a colour photograph, taken on Saturday with my new Nikon D40. This evening I had a play around with a Black & White photography plugin for the GIMP graphics program.
The picture was originally converted to a high contrast B&W image but that left the church looking washed out. I created a second layer which used 'Desaturate' to give an image with more detail in the highlights. I adjusted the transparency and used the eraser to selectively delete areas to get a good balance between detail and contast.
Nikon D40 |
Story location: Home / photography / |
| 18/Oct/2008 |
I took delivery of a Nikon D40 camera earlier in the week. I've not had chance to play around properly yet but I've been happy with the photos so far.
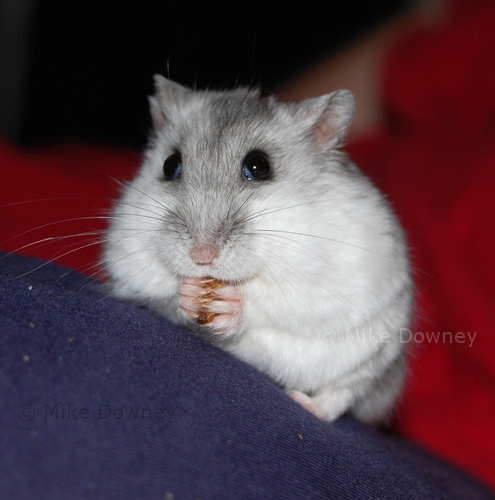
One of the hamsters eating a mealworm
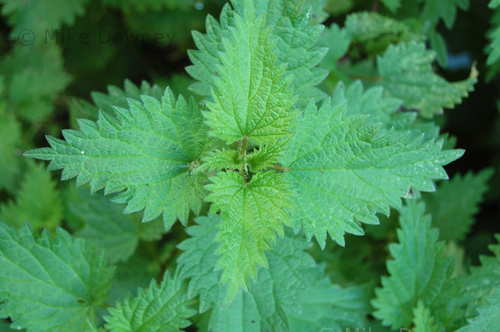
Some nettle leaves
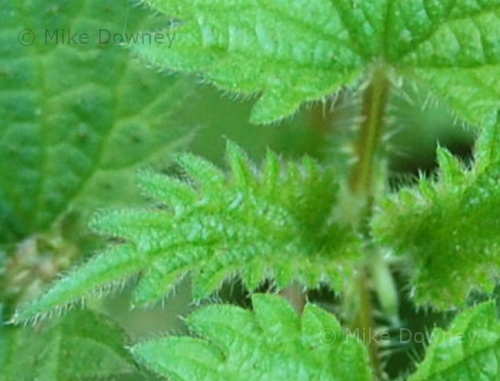
A magnified part of the above image, showing the hairs on the leaves.
Sowe Valley Footpath |
Story location: Home / photography / pinhole / |
| 12/Oct/2008 |
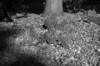
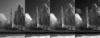
Some pinhole photos taken along the Sowe Valley Footpath in Coventry.